SHAVING CREAM TIE-DYED EASTER EGGS
Every year at Easter time we get super excited about decorating eggs. So many fun techniques to try, but the most fun we ever had with our kids was using the shaving cream tie-dying method below. If you haven’t tested it already, get ready for some messy ooey-gooey decorating fun!
What’s needed:
1 dozen cooled hard-boiled eggs (with while eggshells)
1 or 2 cans regular Shaving Cream (not shaving gel)
An assortment of Chefmaster Gel Paste food colorings (at least 3 to 4)
Baking Sheets
Toothpicks
Plastic to cover your work surface
Paper Towel
Disposable Gloves
Craft Aprons or an old t-shirt that could be stained.


How-to:
- Cover your work surface with a plastic tablecloth and make sure to wear gloves, an apron or any piece of clothing you do not mind staining. Our Chefmaster Gel Paste food coloring are extremely concentrated, making them a great food approved alternative to decorate easter eggs, but they are also hard to wash off.
- Shake Shaving Cream well and spray evenly in baking sheet to cover it entirely all the way to the rim (about ½ inch thick minimum).
- Use a spoon or spatula to evenly distribute the shaving cream in the pan as needed.
- Open your first jar of Chefmaster Gel Paste food coloring. Use a toothpick to take a dollop of gel coloring at a time and drop dollops at random spots in the baking sheet.
- Repeat with your other colors.
- Use toothpicks to drag the colors in all directions all over the shaving cream until you have a nice tie-dye effect.
- Do not hesitate to add more dollops of gel food coloring as needed.
- Once the color is thoroughly spread out take the hard boil eggs and carefully roll them all around the baking sheet to completely cover th4em in colored shaving cream.
- Be careful not to press the eggs too hard against the bottom of the metal baking sheet as to not crack their shells.
- Set eggs aside in a clean baking sheet or plastic plate for 30 to 45 minutes to let the color set.
- Still wearing gloves wipe off excess shaving cream with paper towels and let eggs set for another 15 minutes to fully dry.
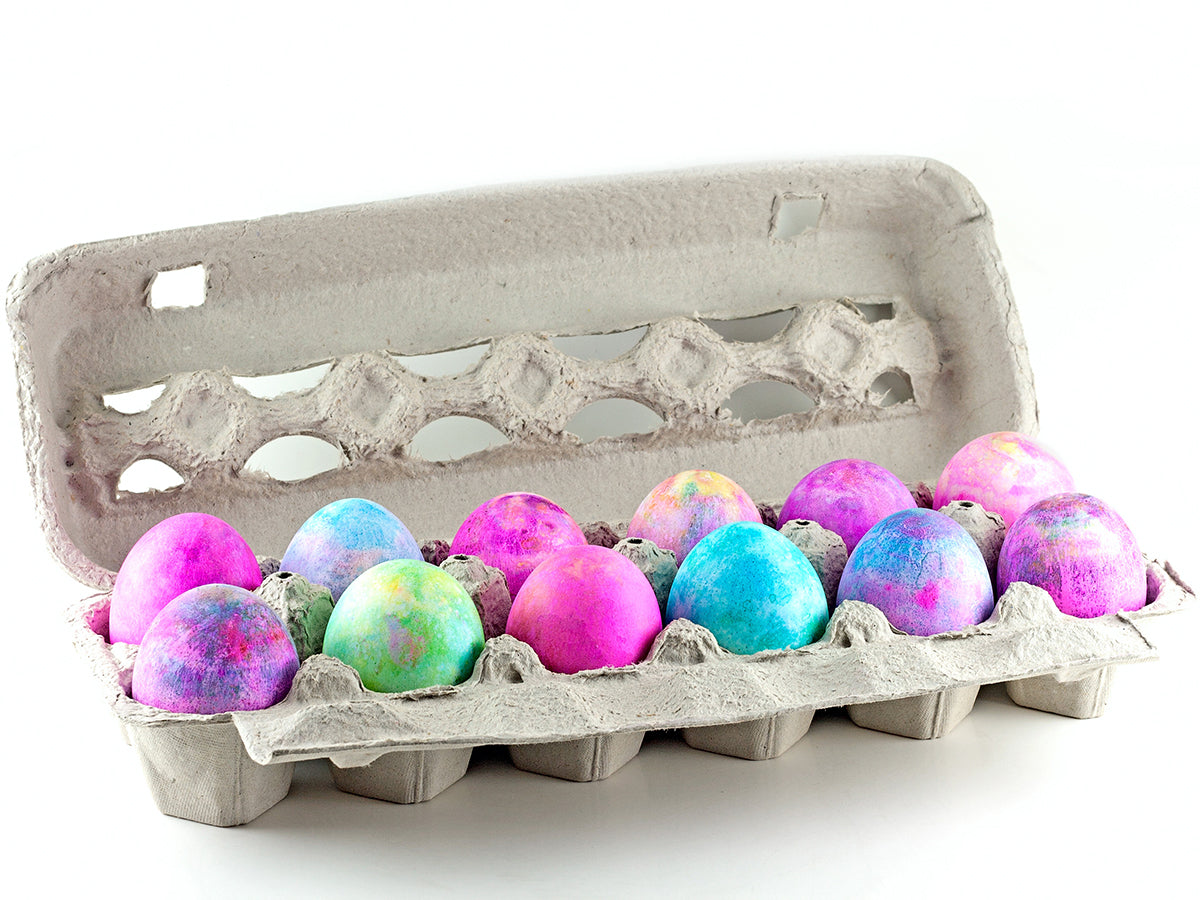
- Your beautiful eggs are ready to use as decoration throughout the Easter Season!