HOW TO USE AN AIRBRUSH GUN?
You have been dabbling in cake or cookie decorating for a while and you are looking at expanding your decorating options with airbrushing options, but you are finding airbrush gun intimidating. Then this article is for you. Let us show you the basics of airbrushing so you can decide if this is the right thing for you.
AIRBRUSH SPRAY GUN 101
First thing first: you will need to purchase an Airbrush Spray Gun, but what is an airbrush gun?
An airbrush gun is a piece of equipment use to spray paint in a fine mist. It is commonly used by commercial painters in construction, for cake and cookie decorating and for a variety of craft projects. You might even have one around your house already, but let us stop you right here. You cannot and should not use an airbrush gun used for actual paints for cake and cookie decorating. There is no way you can guarantee to be able to thoroughly clean your gun from all toxic matters and avoid contamination. Invest in an airbrush gun machine that you will dedicate exclusively to food decorating.
Airbrush gun machines come in many shapes and prices. You can find many of them online under $50. Those models are usually hand held compressors, rechargeable and with a short battery time (around 1 hour or less). They are great if you are such planning on using them occasionally for touch-ups or some cookies or cupcake accents. If you want to try your hand at airbrushing large tiered cakes or are a cottage baker accepting large orders of cookies or cupcakes you will want to invest in a professional quality airbrush gun machine designed for cake decorating.
A traditional airbrush machine comes with the following parts:
- A UL-listed compressor allowing you to adjust the air pressure and work without power shortage interruption.
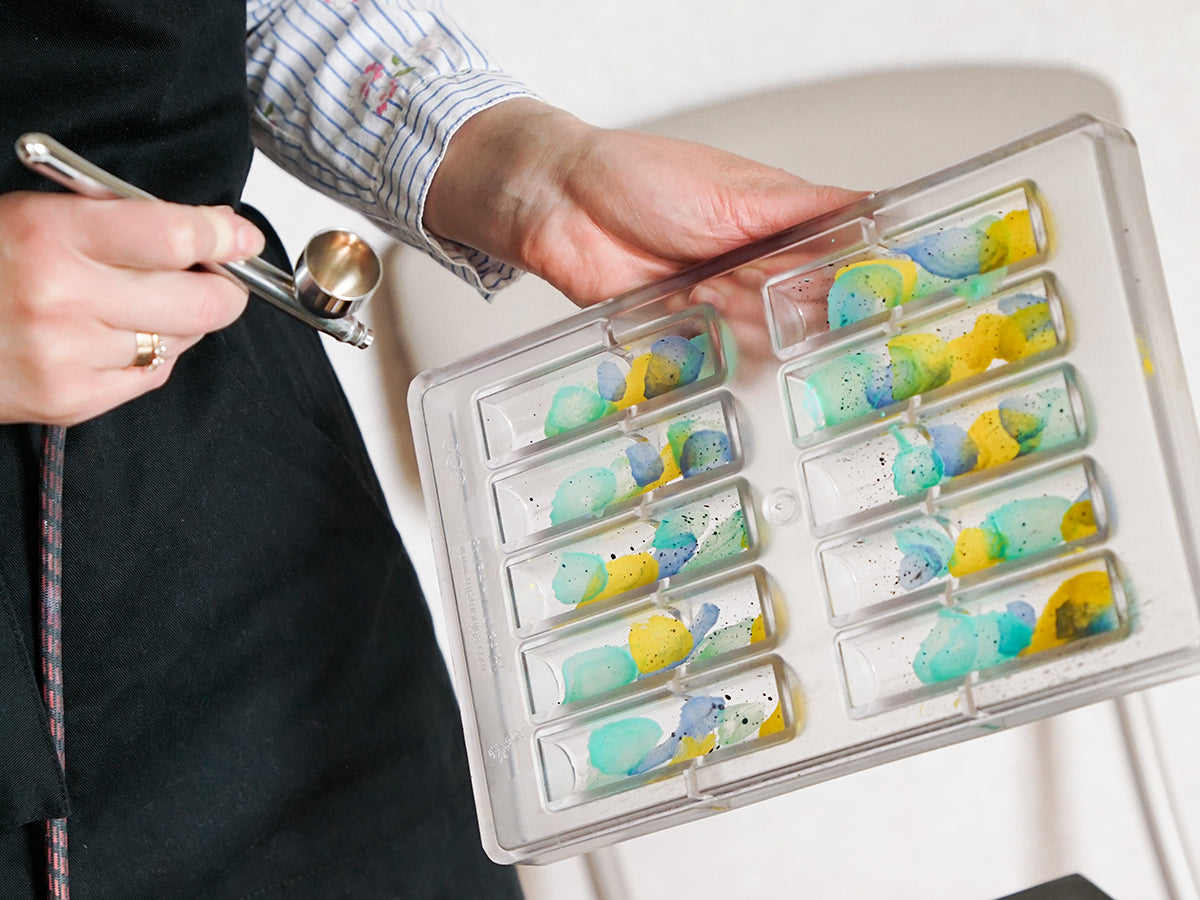
- One (or more) airbrush gun nozzle and a small cup attached at the top for food coloring.
- A hose to connect the gun to the compressor.
The quality of the compressor and the number and type of nozzles you will be getting with your compressor are the main cost differentiator in between airbrush equipment. There is no need to purchase the most expensive machine if you simply want to stencil decorated cookies once in a while, but it might be worth investing if you are making custom decorated cakes several times a month and want to use a variety of different spraying techniques. Assess your needs, decide on a budget and do your homework to find the best airbrush gun machine for you.
DO I NEED SPECIAL FOOD COLORING?
Yes, you do. You cannot simply use Liquid Food Coloring straight out of the bottle or dilute Liquid Gel food coloring with water to thin it. This will clog your airbrush machine and impact its performance negatively. Airbrush gun require to use Airbrush food coloring which viscosity has been specifically formulated to work seamlessly with Airbrushing equipment, such as our high coverage line of Chefmaster Airbrush food colorings. We offer Airbrush food coloring in traditional colors as well as vibrant neon colors and gorgeous metallic ones.
When purchasing bottles of Airbrush food coloring you will notice that natural separation is occurring in the bottle. It is very important to always shake the bottle really well before using your food coloring otherwise sediments might block your airbrush gun.
BASIC AIRBRUSHING TECHNIC
Always follow your Airbrush equipment manufacturer recommendations and instructions to set-up and clean your Airbrush before use.
- Cover your work surface with plastic wrap to avoid any stains until you master using your Airbrush Gun.
- Lay a couple of pieces of white paper towel on your work surface or inside a baking sheet to use as a practice area.
- Add a few drops of Airbrush food coloring in the cup attached to your gun.
- Position yourself about 6” to 8” from your paper towel with your nozzle at a 45° angle with the nozzle pointing toward the paper.
- Pull on the trigger about half way through and start spraying left to right and in circles.
- You will stop the gun from spraying by releasing the trigger on the gun.
- Practice on paper towel first until you feel comfortable moving on to spraying a cake, cookie or another item you want to decorate with food coloring.
- Do not forget to add more Airbrush food coloring in the little cup as you go.
Please be aware that:
- You always need to move your hand while straying. The more time you will pass on the top of an area and the more intense the color will be.
- The more you pull on the trigger and the more food coloring will come out.
- Holding the nozzle at a 90° angle instead of a 45° angle will allow you to create sharp lines.
- The closest you are from the surface your want to color and the smaller the spray area. The farther away and the wider the spray area.
- Don’t get too far out or you might end up spraying your table and walls, but don’t get too close either or the force of the pressure might damage what you are spraying (especially when spraying a soft surface like Buttercream).
- If you want to use a custom coloring blend, mix your color first in a small bowl before adding to the airbrush cup. Trying to mix colors inside the small cup with a toothpick or shaking the cup might end up in food coloring splashing out of the cup as it does not have a lid.
CLEANING YOUR AIRBRUSH
It is very important to properly clean your airbrush gun between each color (to avoid color mixing and contamination) and after each use (to avoid sediments to settle and your nozzle to clog). It is very simple to clean your Airbrush gun:
- Empty excess food coloring from cup.
- Use a cotton tip dipped into an Airbrush Cleaning solution (such as Chefmaster Airbrush Cleaner) to clean the inside of the cup and the tip of the nozzle.
- Fill the cup with a little bit of warm water and spray it all out above your sink.
- Repeat the process until the cotton tip is clean and the water coming out of the gun is clean.
- Let your airbrush fully dry before storing it.

COLORING A CAKE
Place your cake on the top of a cake turntable. It is always best to build the color slowly by rotating the cake or by continuously moving your arm in a circular movement to cover all areas, and then repeating until you reach the desired color intensity. This will ensure that the color is even all over the cake instead of ending up with different shades and various coverage intensities.
When using more than one color it is usually best practice to start with the lighter colors first and the darkest ones last.
Do not get too close from your cake with your gun to avoid damages linked to air pressure. Be mindful when spraying to top of your cake not to have the hose touch your cake.

STENCILING WITH AN AIRBRUSH GUN
Stenciling with an airbrush gun is so much easier than with icing! Place your stencil on the top of your cake or cookie and direct your airbrush spray to paint inside the cutout using circular movement. If you want to stencil in a really dark color (like black for example), do not oversaturate the spray. Pass a couple of times above your stencil, let dry for 30-45 seconds and spray another coat. Repeat until you reach the intensity you desire. Wait another 30-45 seconds before carefully pilling off your stencil.

AIRBRUSHING ROLLED FONDANT
Your airbrush gun is a great tool to color fondant without needing to knead the actual fondant dough. Sculpt and shape your fondant pieces. Set them on a protected surface and spray them in the colors of your choice. This is a wonderful option for fondant flower as airbrushing allows you to give petals an additional dimension by using different intensity of the same color or using several colors.
How do you feel after reading this tutorial? Airbrush gun might seem intimidating, but they are not so difficult to use in the end. We hope you now feel confident to give airbrushing a try.